The split keyboard building Journey begins!
I've been fascinated by the mechanical keyboard community and their incredible custom builds. What particularly caught my attention was how enthusiasts were building their own Corne keyboards - an open source split ergonomic keyboard design created by a dedicated community of keyboard lovers.
Need Help Building Your Keyboard?
I'm offering custom keyboard building services in Singapore! Whether you need help with soldering, assembly, or troubleshooting, I'm available to assist. Check out my Carousell listing or reach out directly.
View on Carousell
I was particularly inspired after watching a build video by EIGA on YouTube that showcased the entire process beautifully. This isn't a tutorial, but rather a retrospective of my journey building this amazing ergonomic keyboard from scratch.
What makes up a Corne Keyboard?
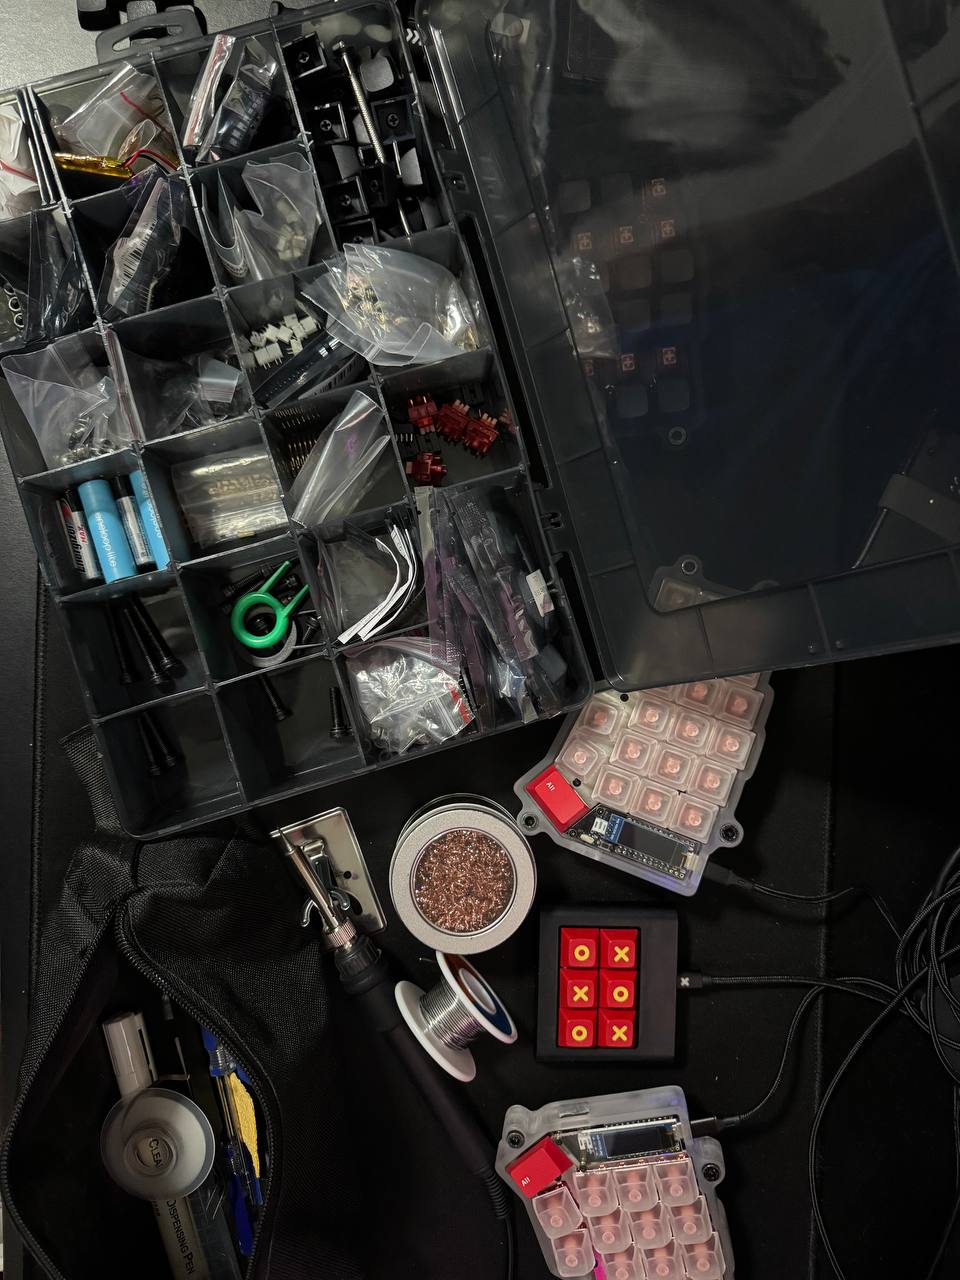
A Corne keyboard consists of 31 different parts! It's quite complex for a beginner, but the modular nature makes it an excellent learning project. Here are the key components:
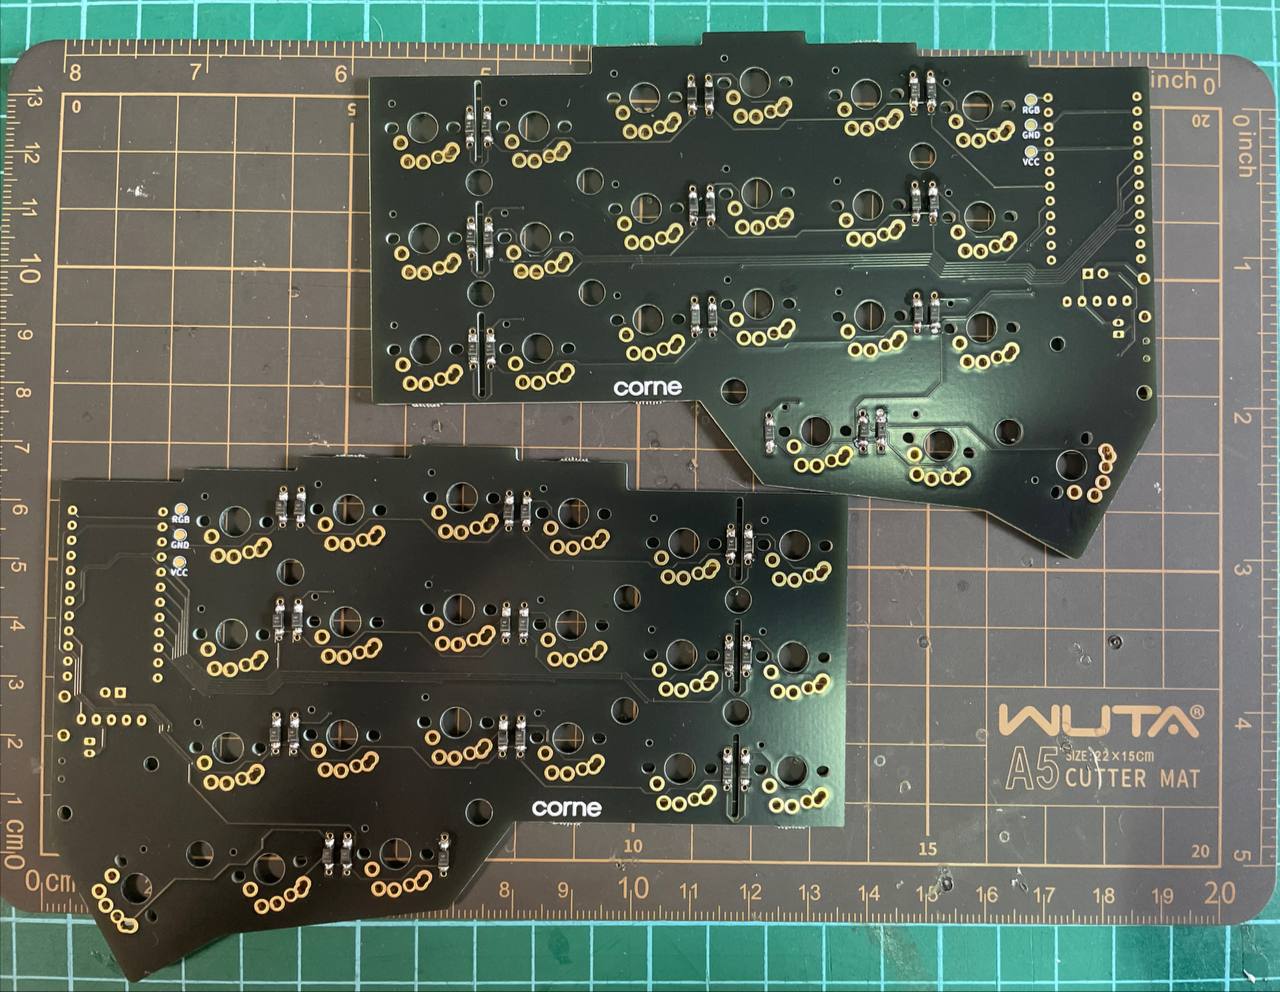
PCB
The printed circuit board is the foundation of the keyboard, containing all electrical connections
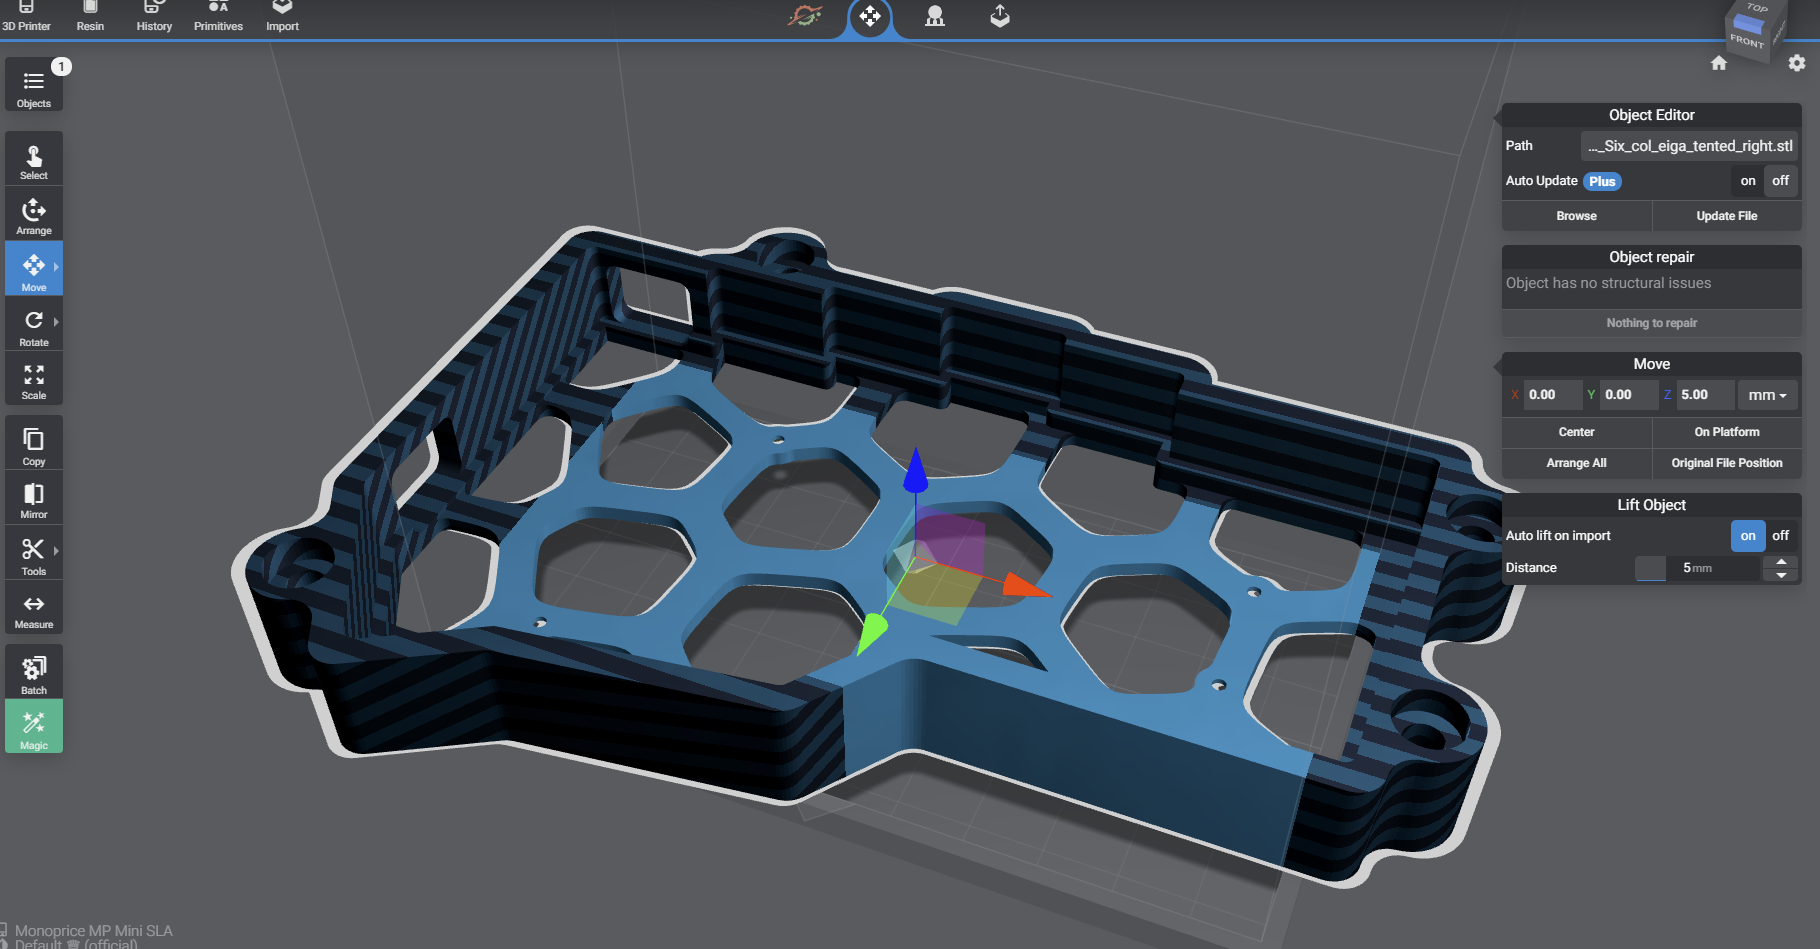
Case
Protects the PCB and components, available in different materials

MCU
The brain of the keyboard, handles all key inputs and communications
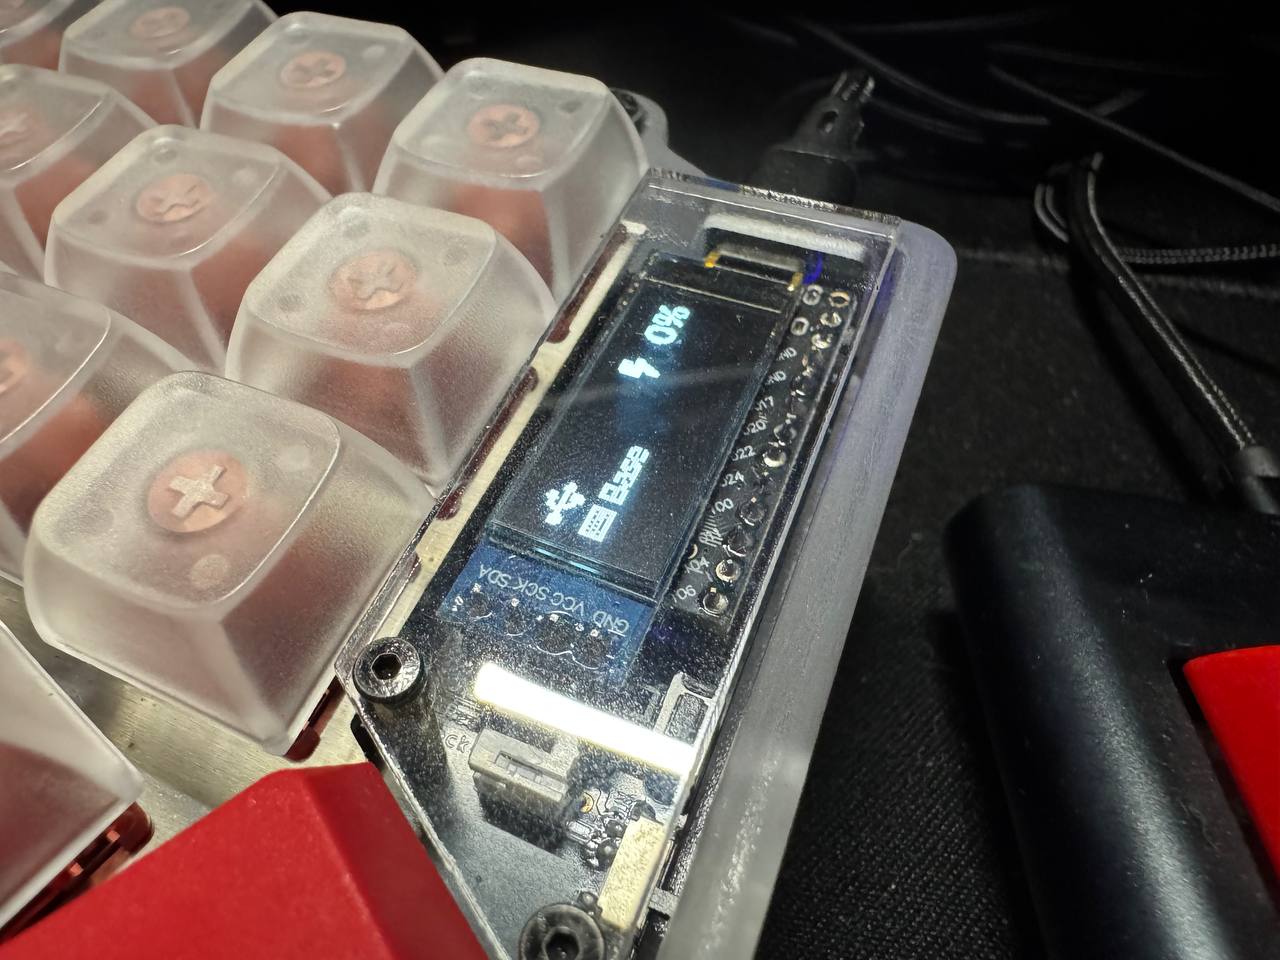
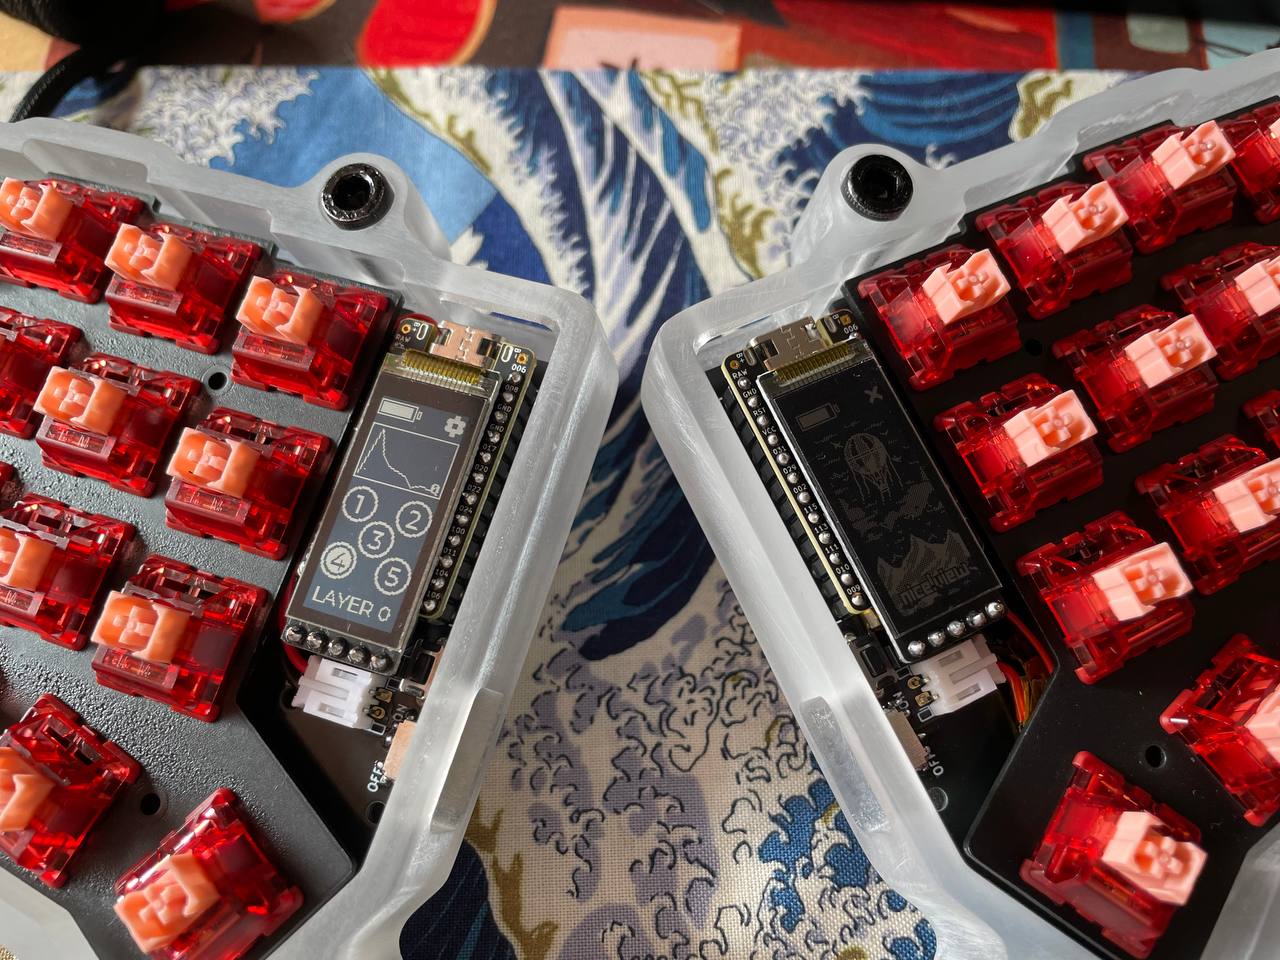
OLED Screen
Displays keyboard layer and status information
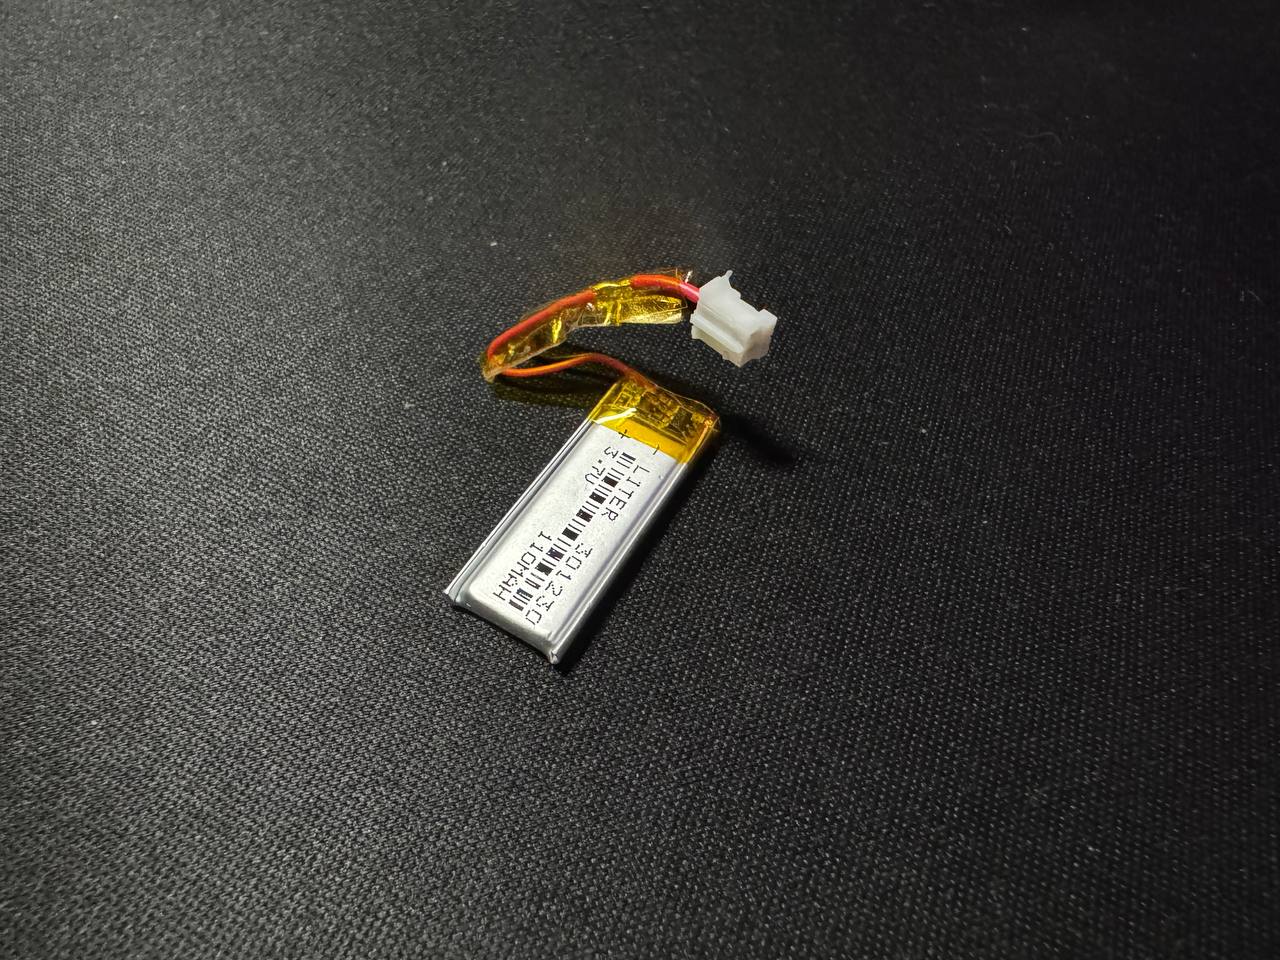
Batteries
Powers the wireless version of the keyboard
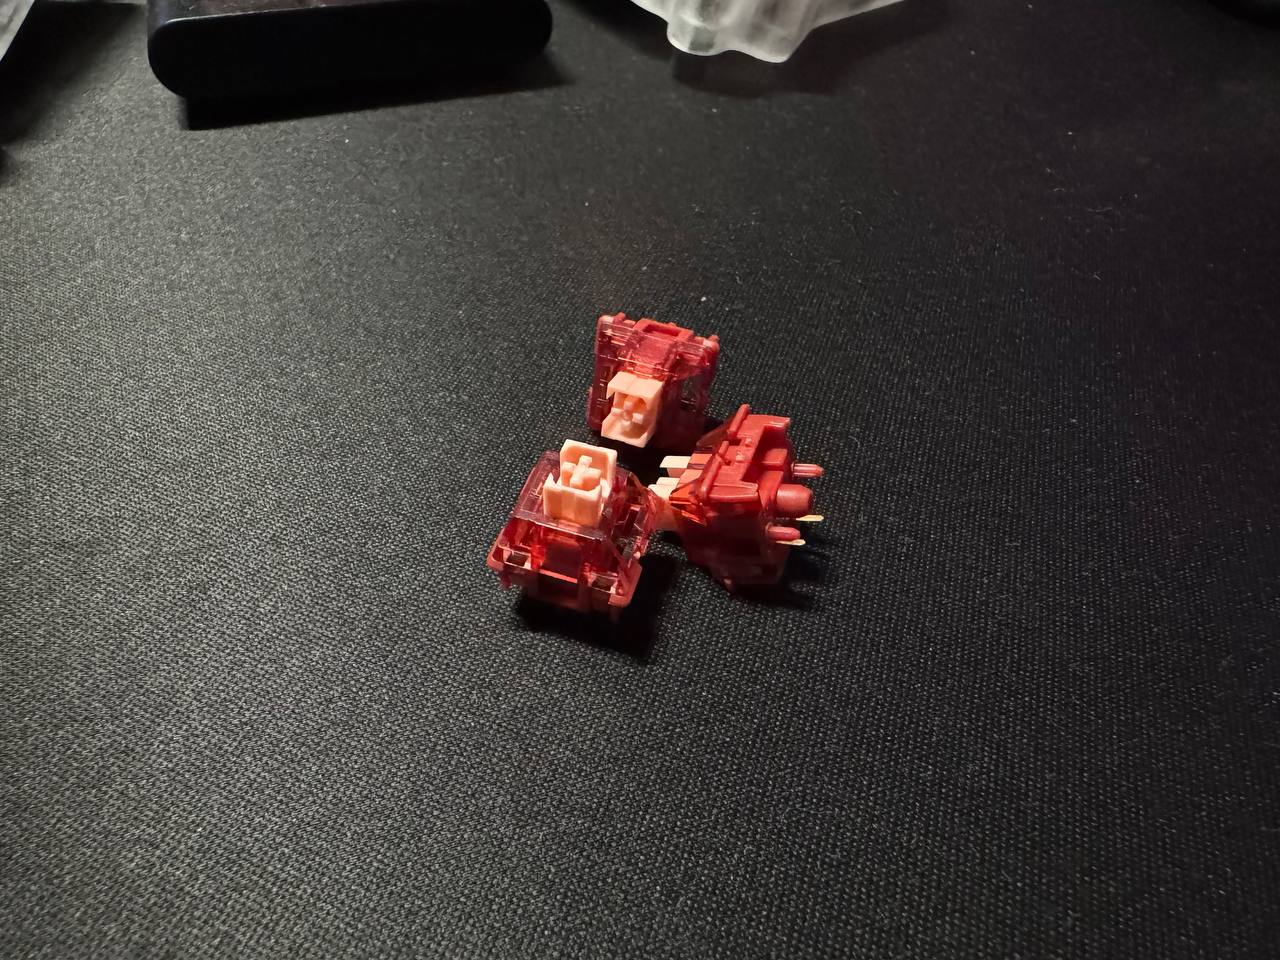
Switches
The mechanical components that register keystrokes
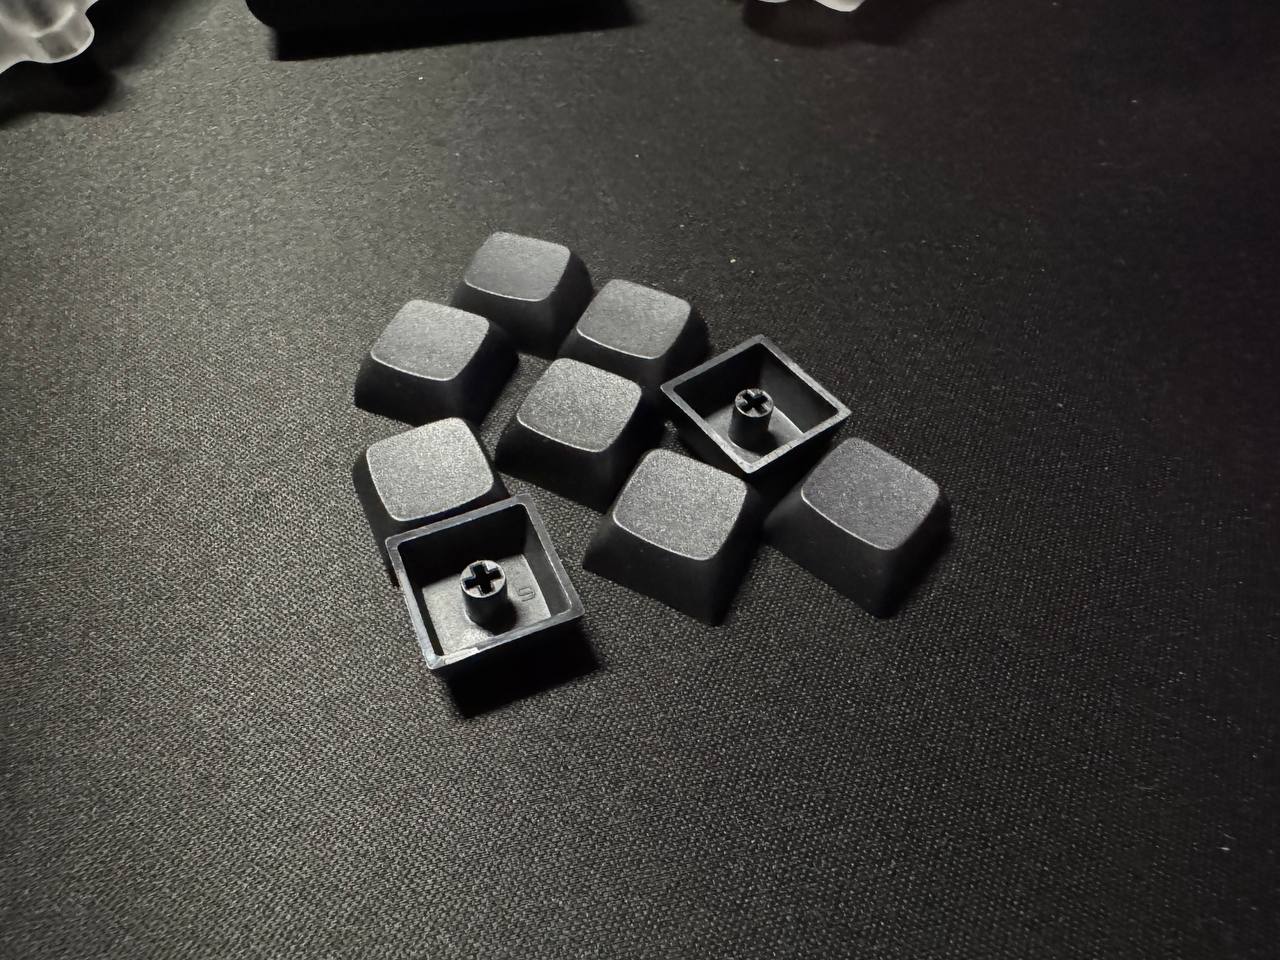
Keycaps
The tops of the switches that you touch when typing
The 31 parts include diodes, resistors, headers, and various other small components that all need to be carefully assembled:
Initial Investments
Many build videos demonstrate the process, but few discuss the actual cost involved. After gathering the entire cost of the parts. The entire cost to build the keyboard seems quite reasonable.
Here is a detailed Bill of Materials (BOM):
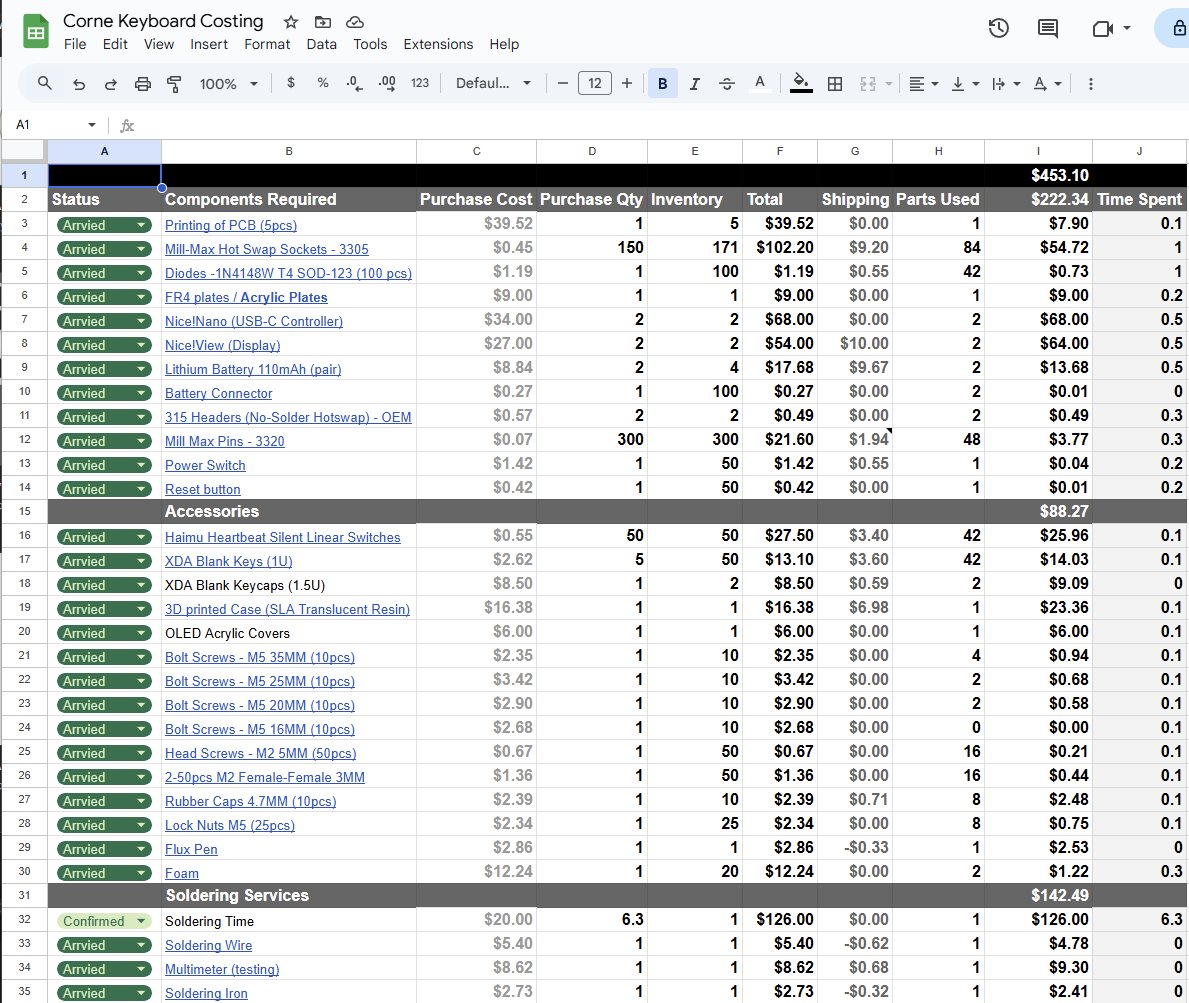
Base Components
PCBs, controllers, and cases form the foundation of the build cost
Switches, Keycaps and parts
From bolts and nuts to diodes and resistors
Tools
Also factoring in soldering equipment and other tools needed
Learning how to solder
Building a Corne keyboard requires patience and precision. The soldering process was one of the most challenging aspects of this build:
Learning from experts
I was fortunate to connect with experienced keyboard builders who provided invaluable guidance throughout my journey. The keyboard community is incredibly supportive and willing to help!

When I ran into issues with my OLED screen and soldering mistakes, community members were quick to identify the problems and suggest solutions. Having mentors who've been through the same process was the key to my successful build.
Learning PCB Design with KiCAD
One of the most fascinating aspects of this journey was learning how to read and understand PCB schematics.
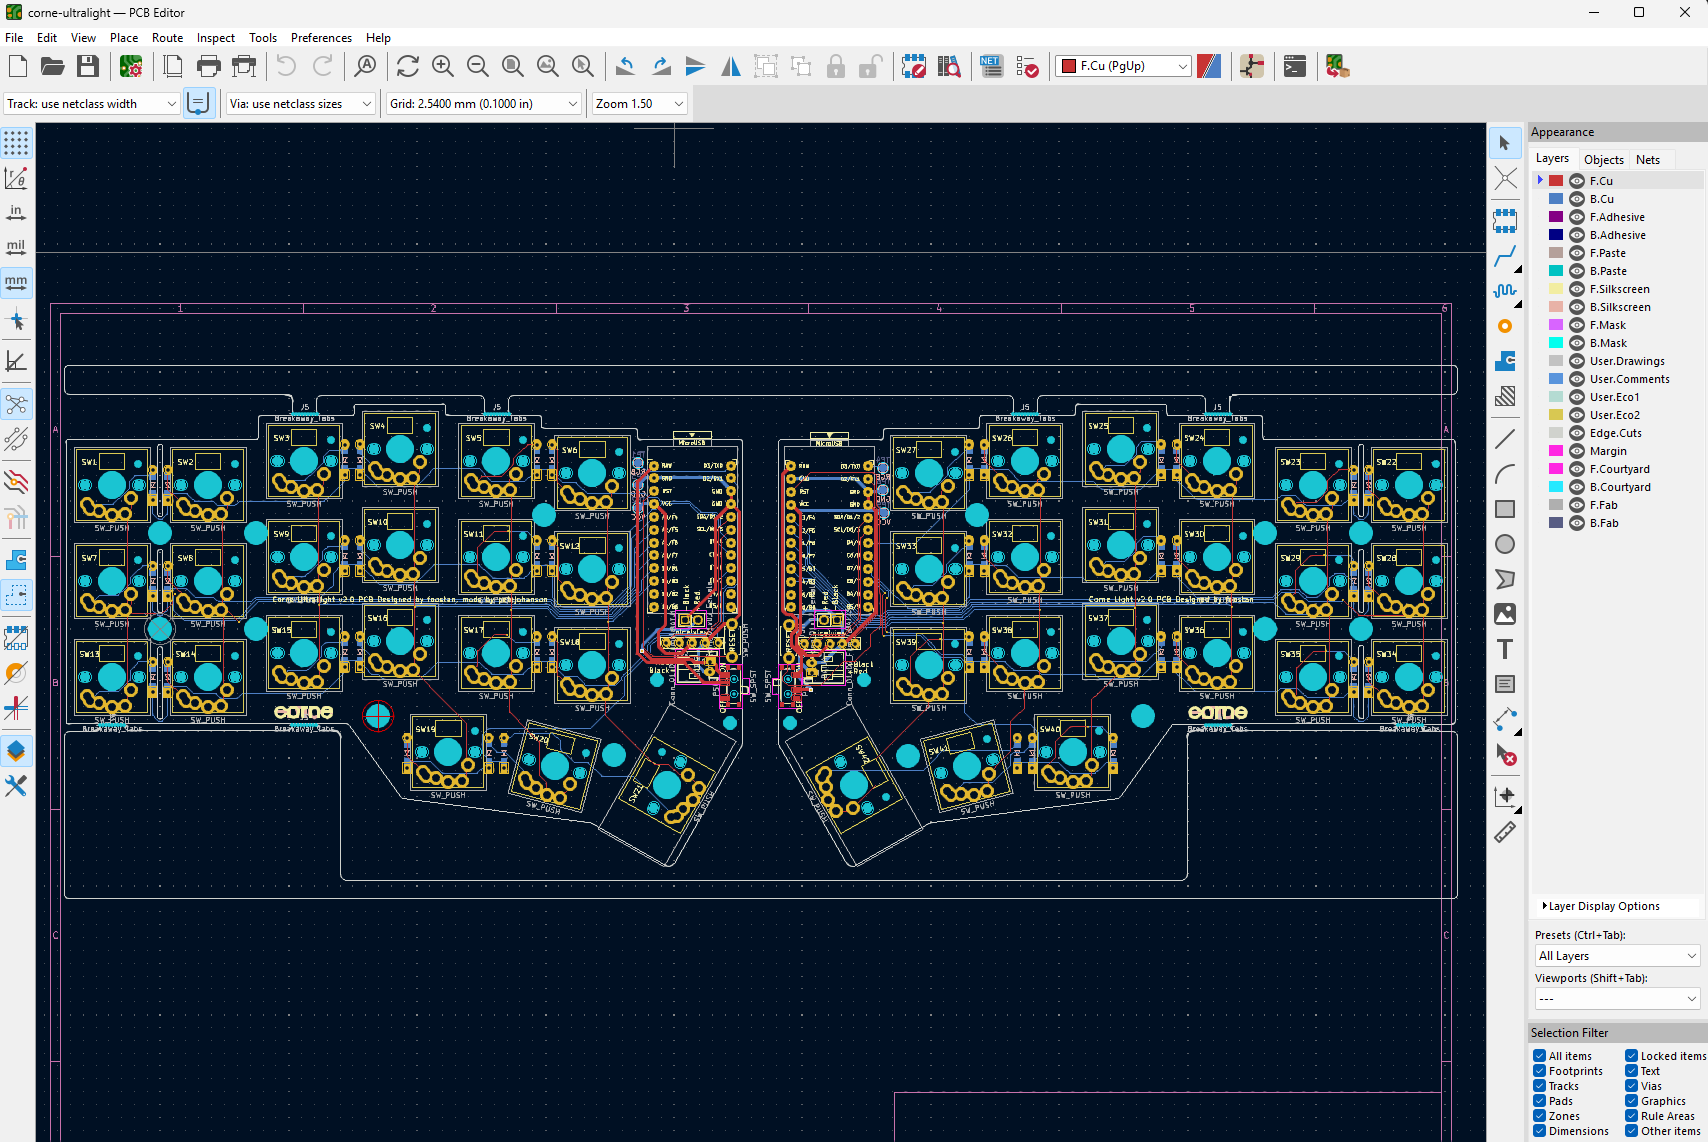
Visualize connections
Understanding how components connect on the PCB helped me troubleshoot issues when they arose
Handle errors
Going back to the drawing board to understand how mishandling soldering can affect other areas of the PCB
Testing the actual build
After completing the physical assembly, I had to learn about GitHub and ZMK firmware to make the keyboard functional:
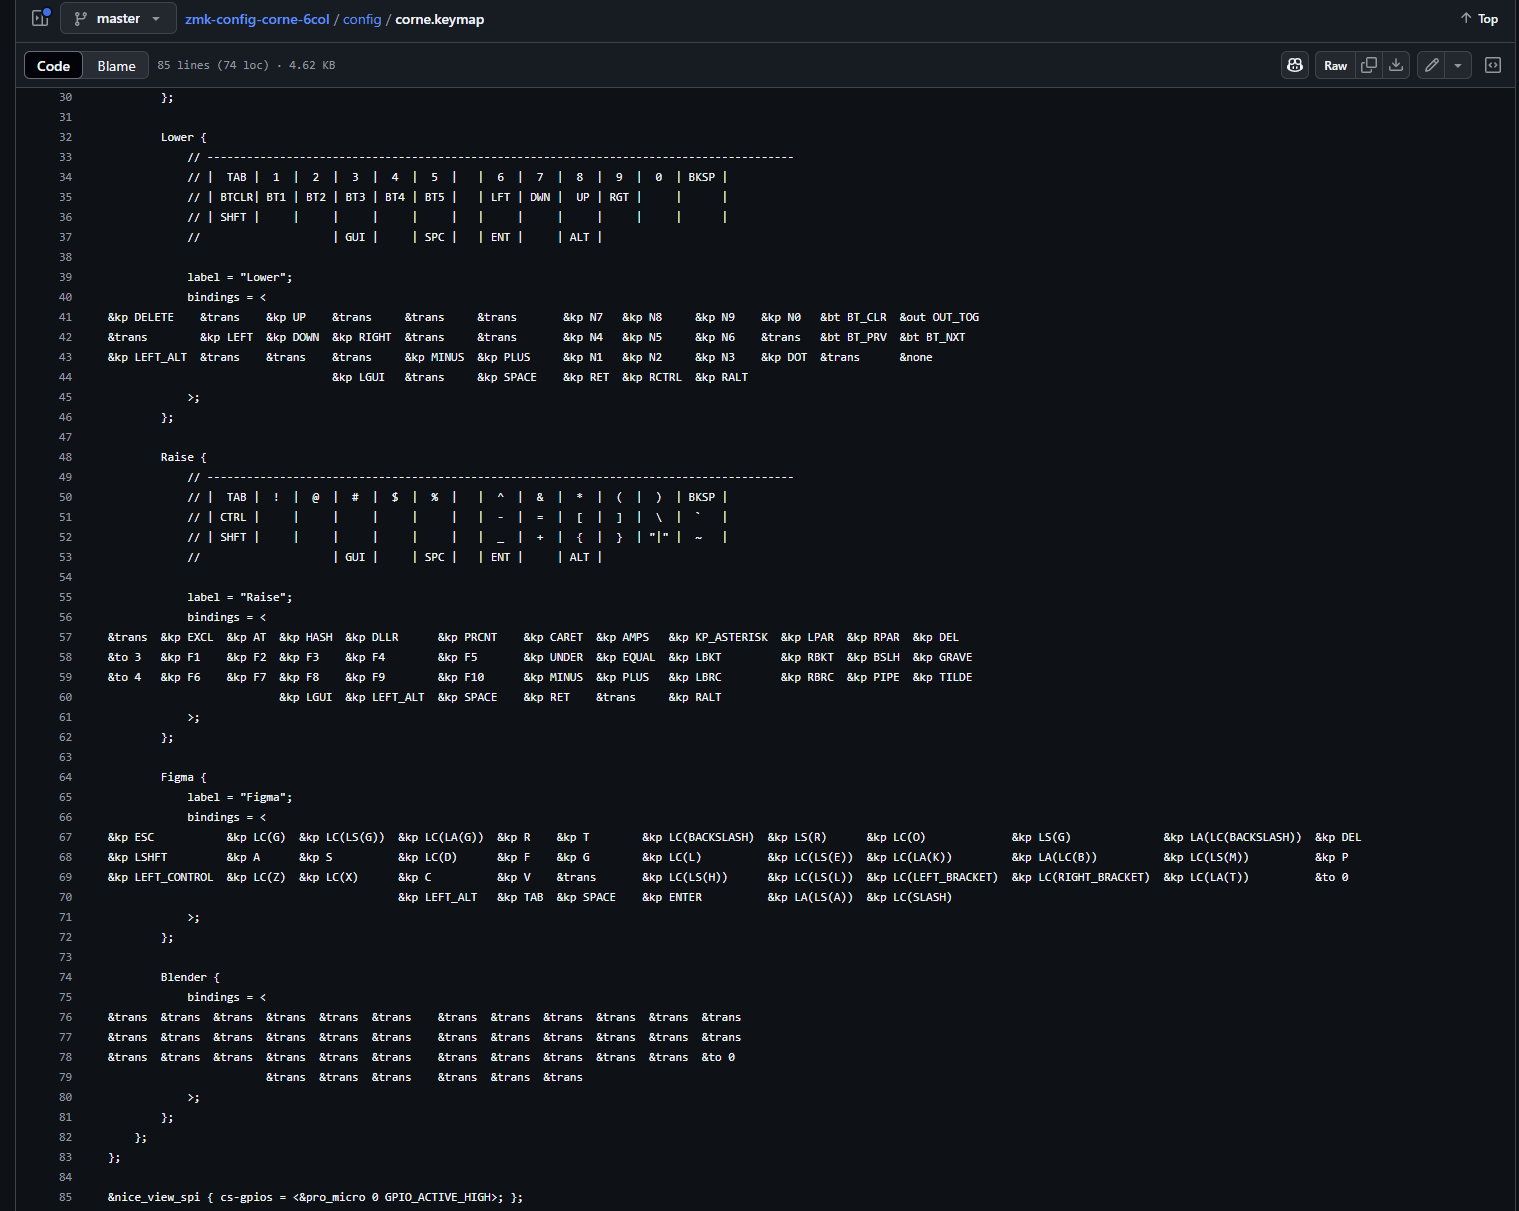
Clone the ZMK firmware configuration for the wireless Corne keyboard to customize keymaps and layers.
View on GitHubRepository stats for my ZMK Corne keyboard configuration
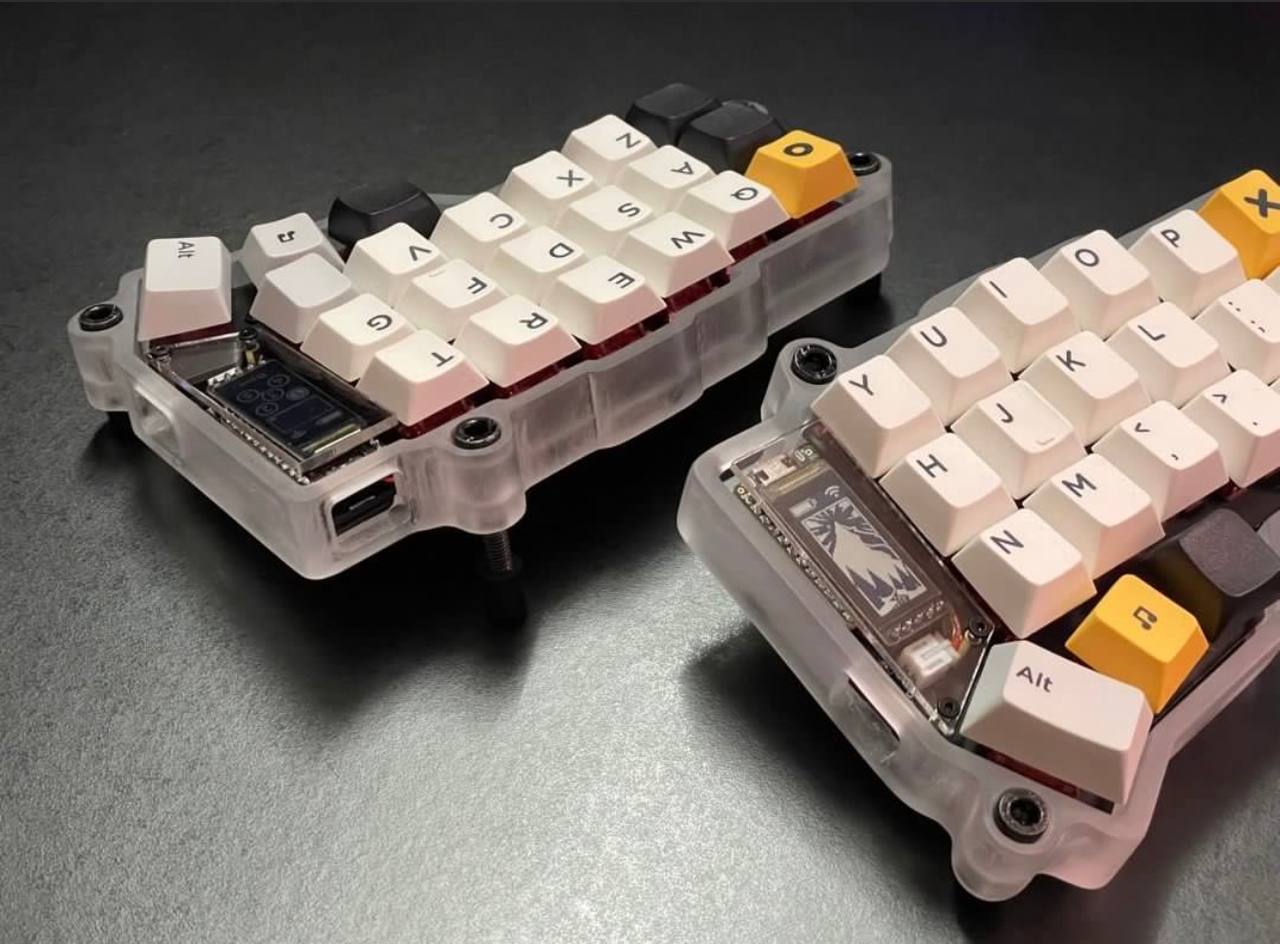
Here are some examples of the keyboards I've helped others build:

Custom Case Build
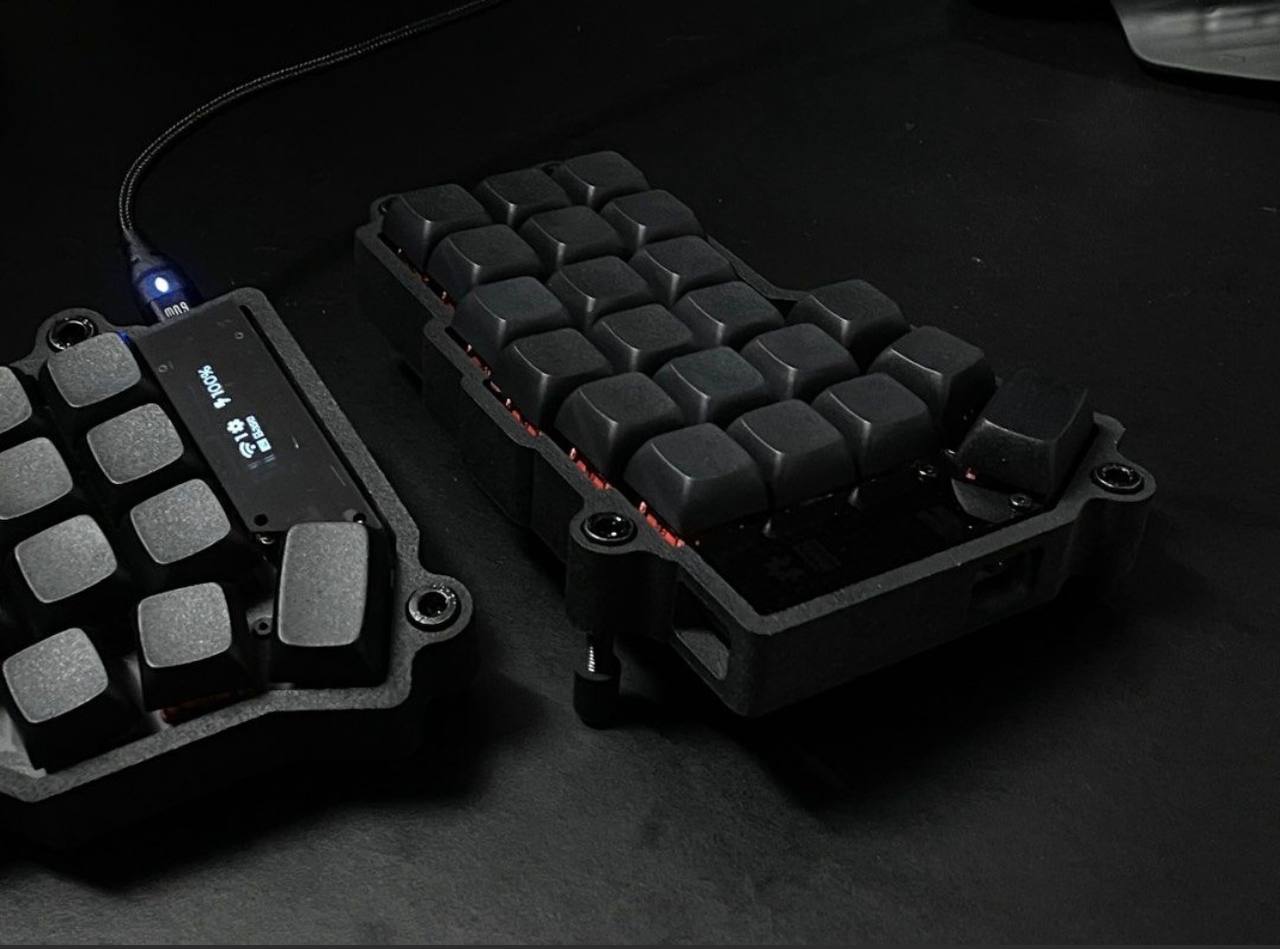
Black Aesthetic
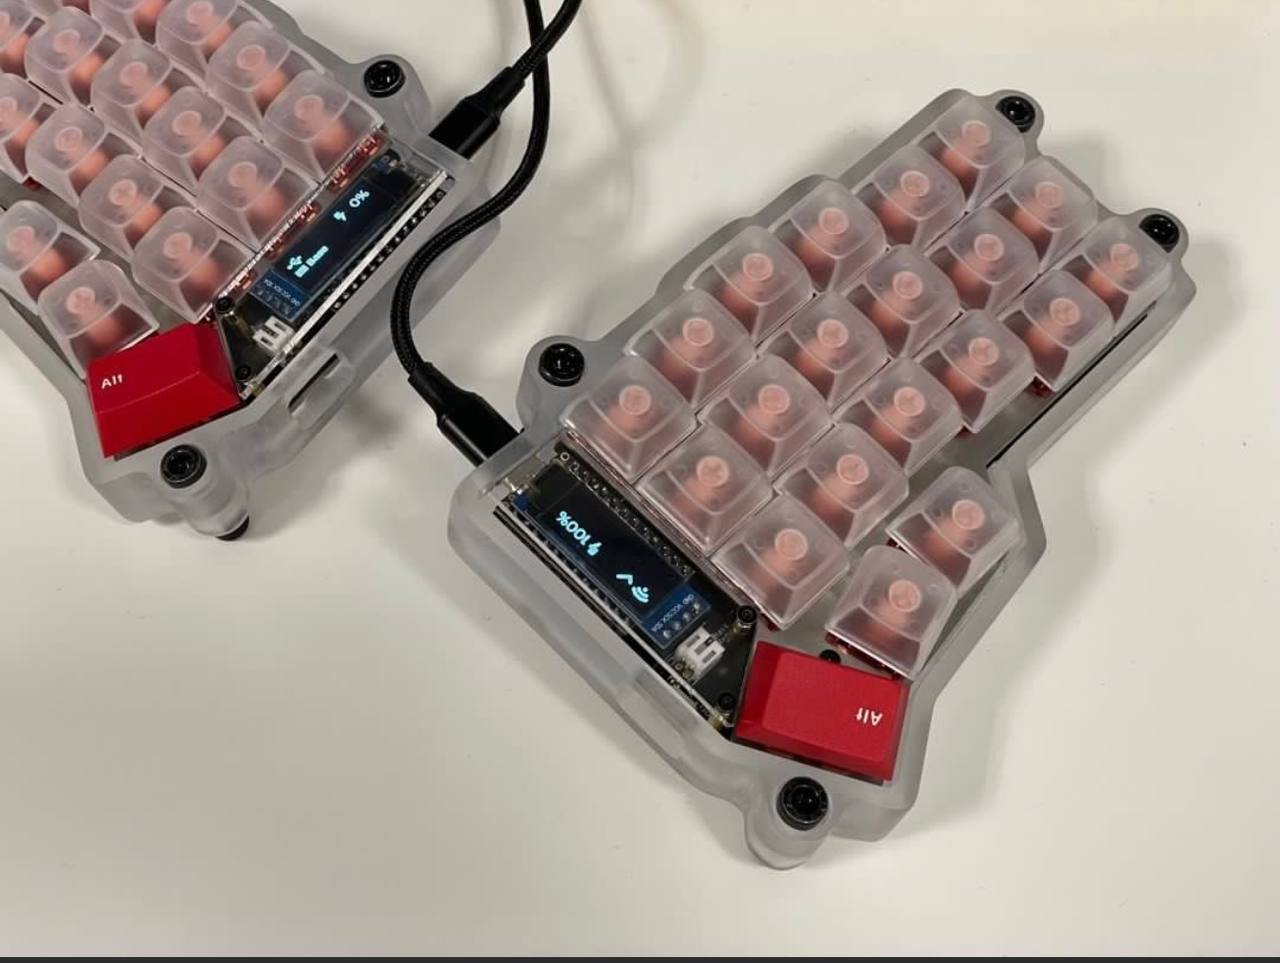
Translucent Case and keycaps
My own Keyboard
Summary
This project taught me so much more than just how to build a keyboard:
Technical Skills
Learned how to use GitHub, solder electronic components, and customize firmware
Value of Mentorship
Discovered the importance of having experienced mentors
Community Engagement
Found joy in giving back and helping others on their own keyboard building journeys